

How Do You Produce Professional Product Photography?
Your Product Photos Need to Work for You!
If your product photos aren’t helping your product sell, they’re working against you. It’s that simple.
Because professional product photography isn’t just about sharp images or expensive equipment. It’s about clarity, consistency, and trust. It’s the visual handshake between your product and your customer.
When done right, it does more than show the product. It positions it. It tells a story. It answers questions. And it gets people to buy.
Whether you're shooting in-house or working with a studio, this guide walks through the key steps to creating high-impact, conversion-friendly product photography that feels professional and actually performs.
Before You Start:
Plan Your Products for Maximum Efficiency
Before you worry about lighting, props, or backgrounds: zoom out and start with a proper product shot plan.
This not only saves time on shoot day but makes sure nothing critical is missed. Especially if you're shooting multiple items, managing different collections, or working to a brand rollout timeline.
Ask:
- What products are we shooting?
- Which angles are needed for each?
- Do we need lifestyle shots as well as clean e-commerce shots?
- Are there variants (like colours or sizes) that require separate images?
- Where will these images be used, and what formats are required?
Build a simple shot list with:
- Product name
- Type of shots (hero, detail, scale, lifestyle)
- Format (portrait, landscape, square)
- Use case (web, ads, social, print)

Being this clear upfront avoids reshoots, missing content, and creative guesswork on the day. It makes the whole process faster and more professional, start to finish.
Key Elements of a Successful Product Shoot
Step 1:
What Job Does This Image Need to Do For the Product?
That answer will shape everything:
- A clean white-background image for your product page needs to be sharp, colour-accurate, and distraction-free.
- A lifestyle shot for Instagram should be styled, aspirational, and tell a subtle brand story.
- An ad image might need bold colour, dynamic cropping, or space for copy.
- A campaign or homepage banner will require high resolution, specific focal points, and more breathing room.
- Is it an e-commerce product photography shoot?
When you’re clear on the purpose of each image (not just the product itself), your results are sharper, your shoot is smoother, and your content performs better across every platform.
Before you start snapping, define your goals. Map your formats. Know your platforms. That’s the foundation of professional product photography & product videography.
Step 4:
Shoot With Consistency and Intention
This is where professionalism either shines or breaks down.
Each item in your catalogue should be photographed with the same care, angle and lighting. It’s how your site feels cohesive. Polished. Trustworthy.
Create repeatable setups for:
- Product angle (e.g. straight-on, 45°, side view)
- Crop and frame
- Shadows and depth
- Hero shots and detail shots

Use a tripod. Measure your framing. Take the guesswork out.
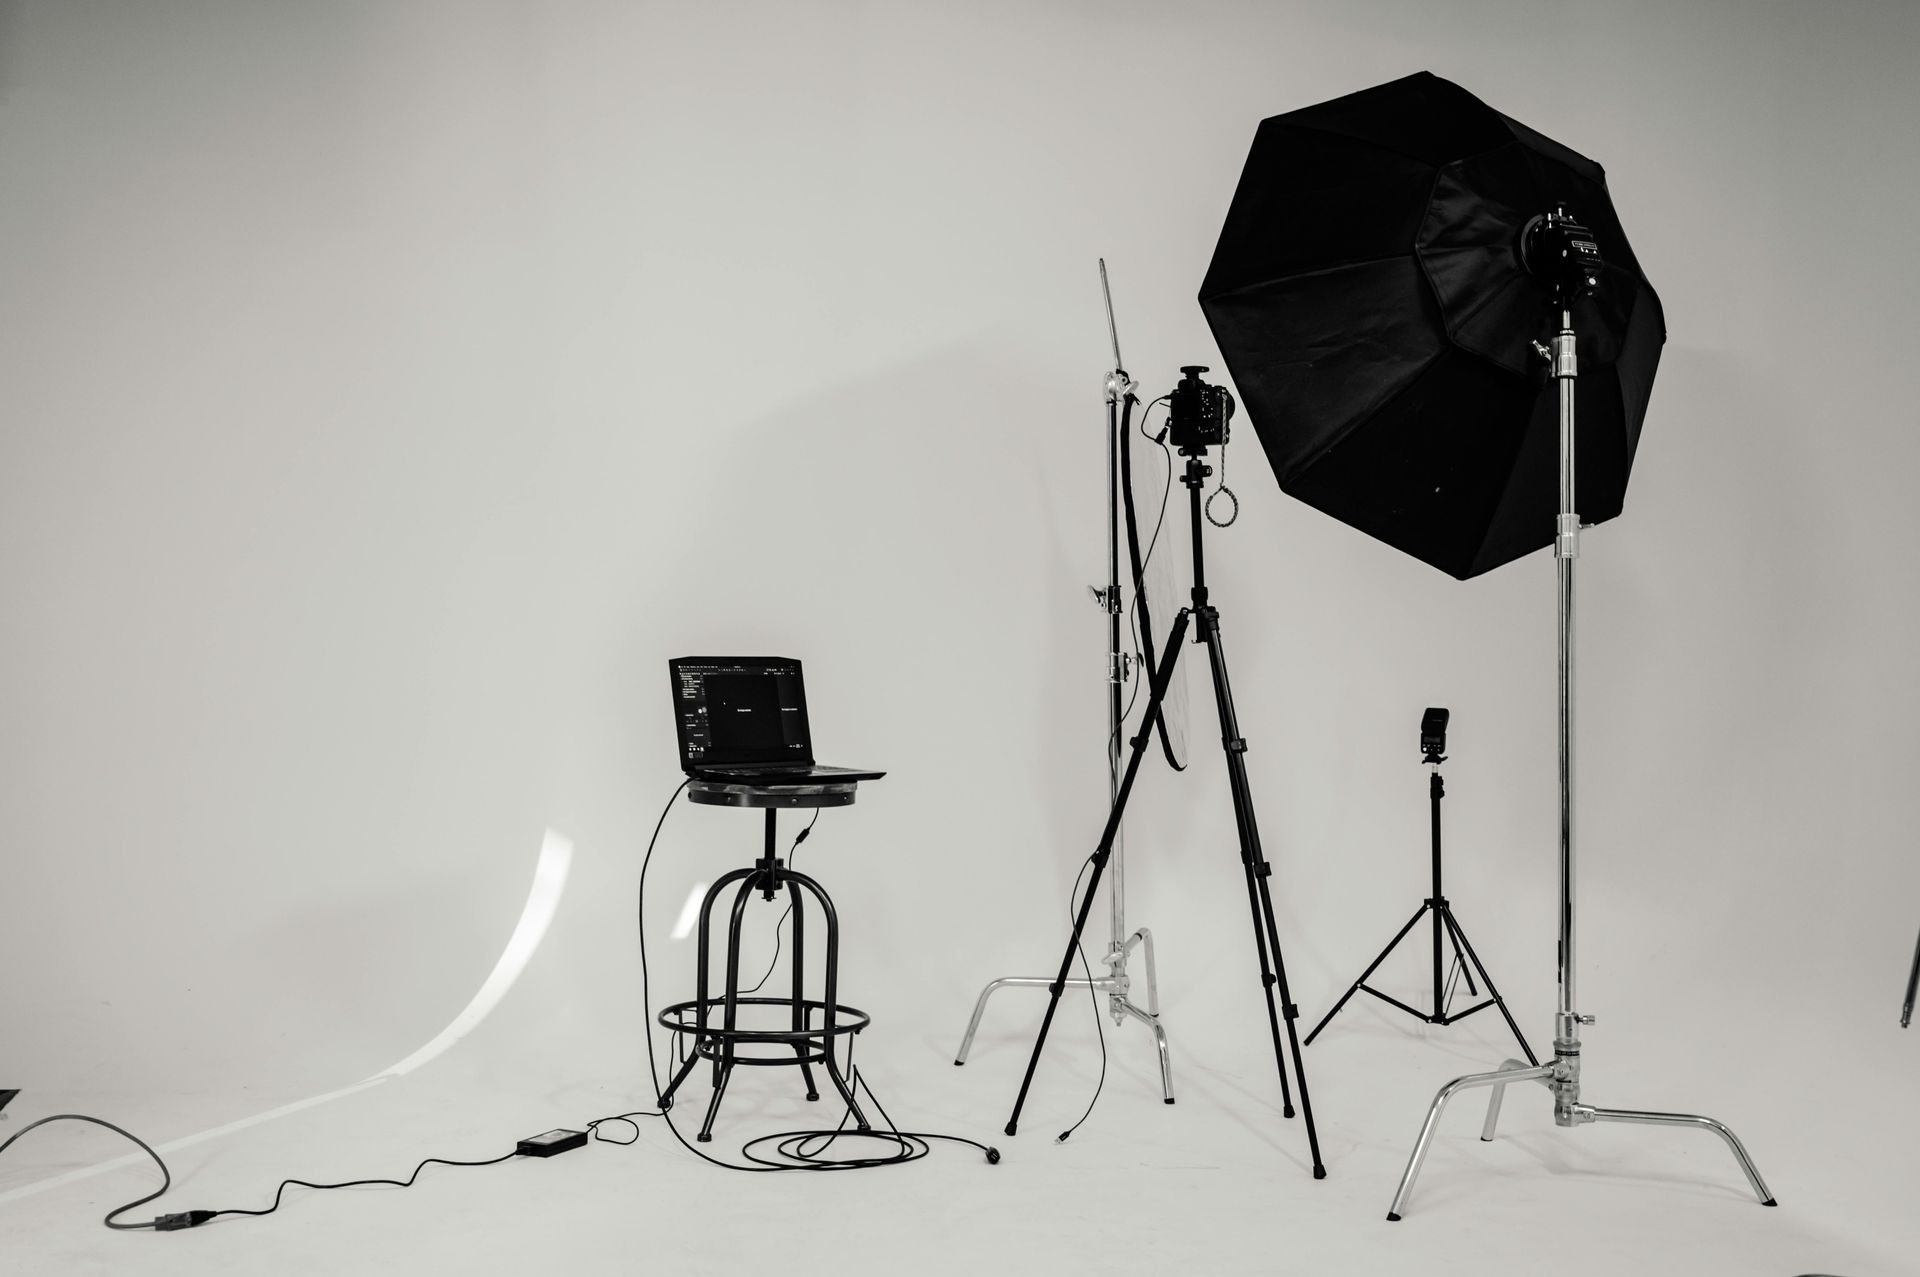
Step 2: Set the Scene with Lighting that Works For the Brand
Lighting plays a key role in communicating brand identity.
When planning your setup, consider:
- Is the brand clean, minimal, and modern? Use soft, diffused lighting.
- Is the brand bold or luxury-led? Try more directional or contrast-driven lighting.
- Does the product need accurate colour representation? Controlled studio lighting is essential.
Good lighting should highlight product details, ensures accurate colour and create cohesive imagery for e-commerce, social media, and campaigns.
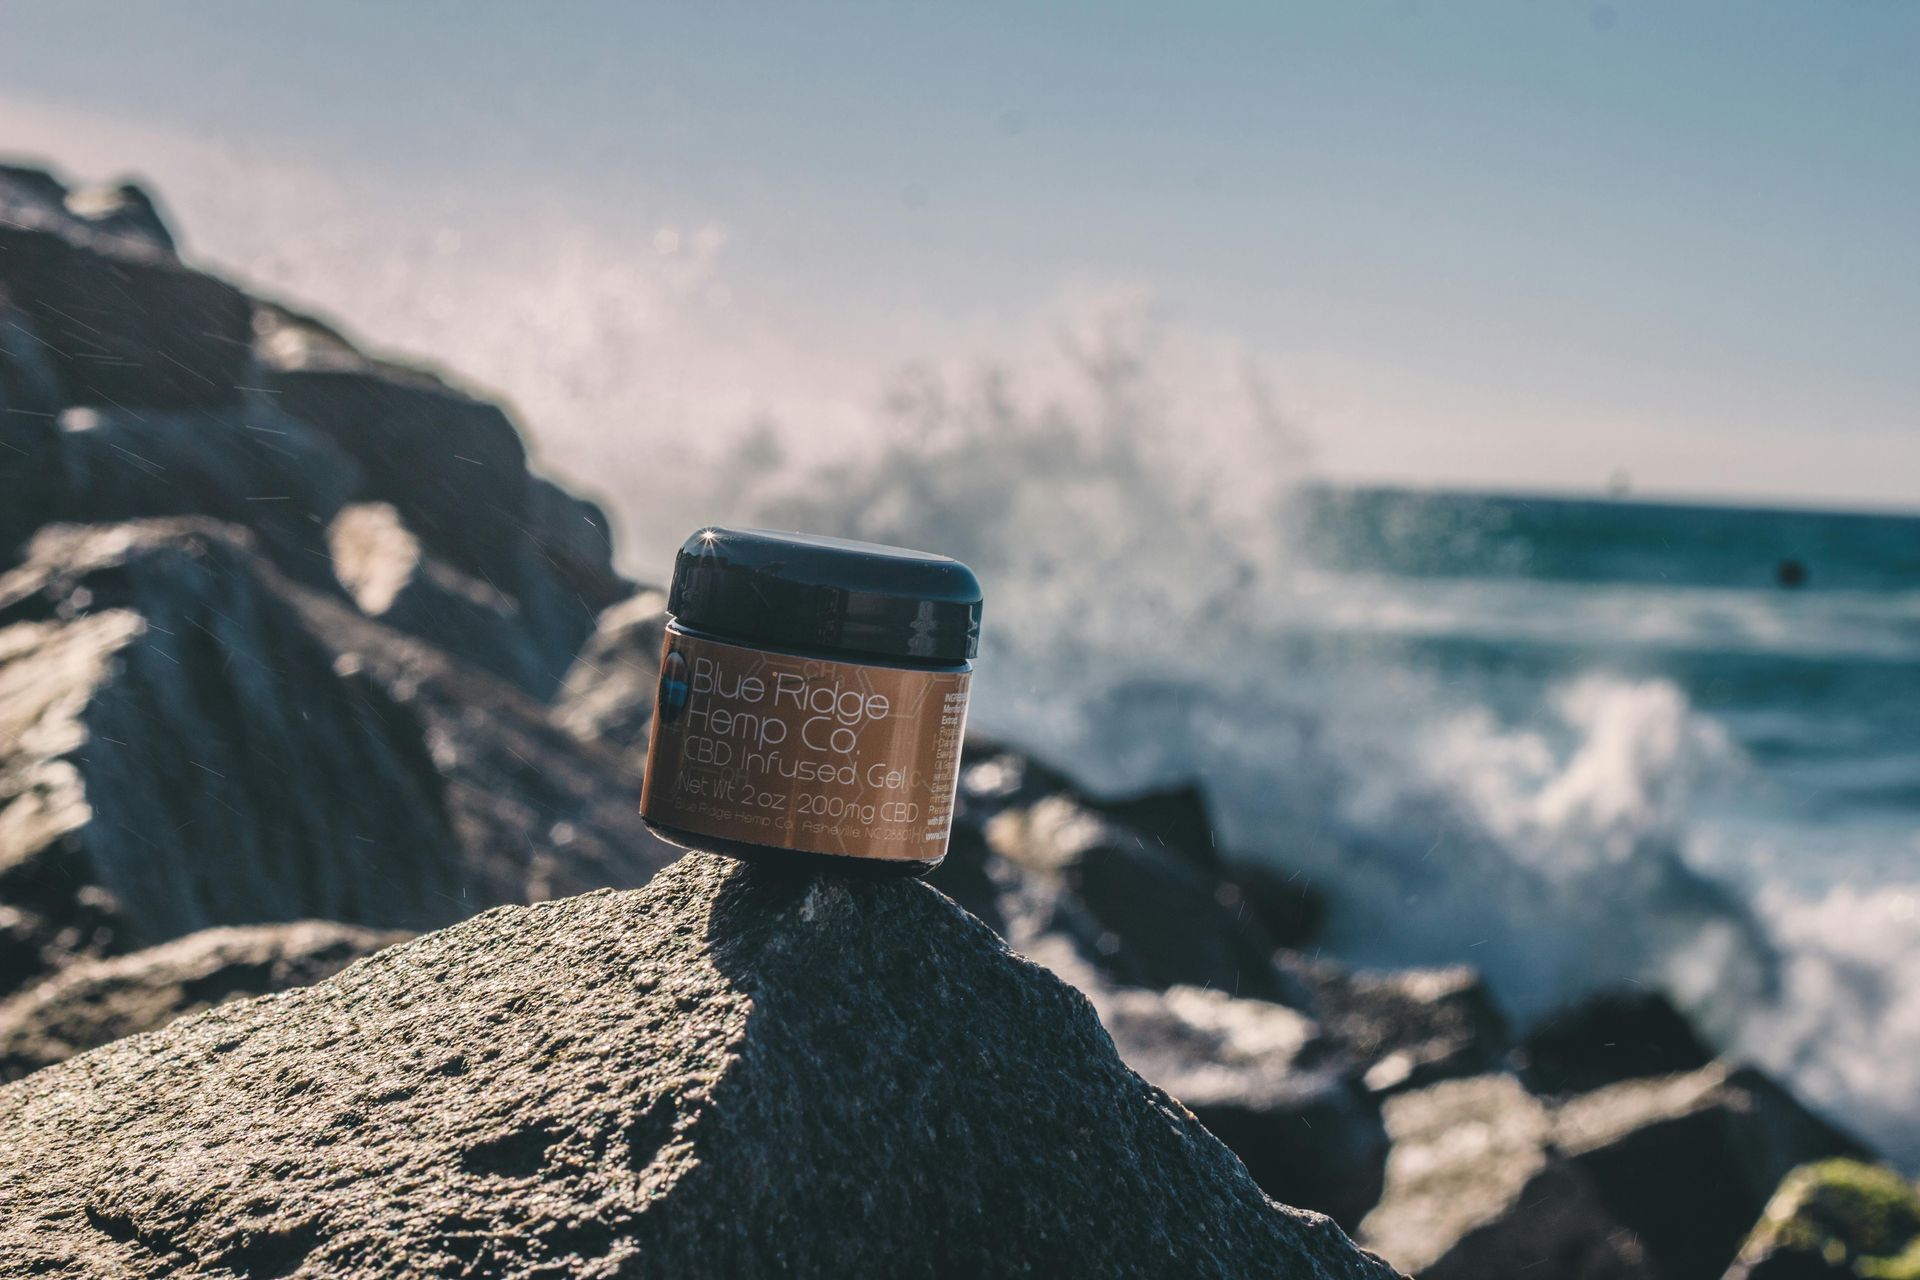
Step 3: Use the Right Background
Your background should support the product, not distract from it.
- For clean, conversion-focused e-commerce images, a pure white or light grey background works best.
- For lifestyle or brand-building content, textured surfaces, branded colours, or natural materials (like wood, linen, or stone) can enhance storytelling.
The key?
Keep it consistent.
If you’re shooting a whole range, don’t change the background style halfway through. It breaks the visual rhythm of your store or campaign.

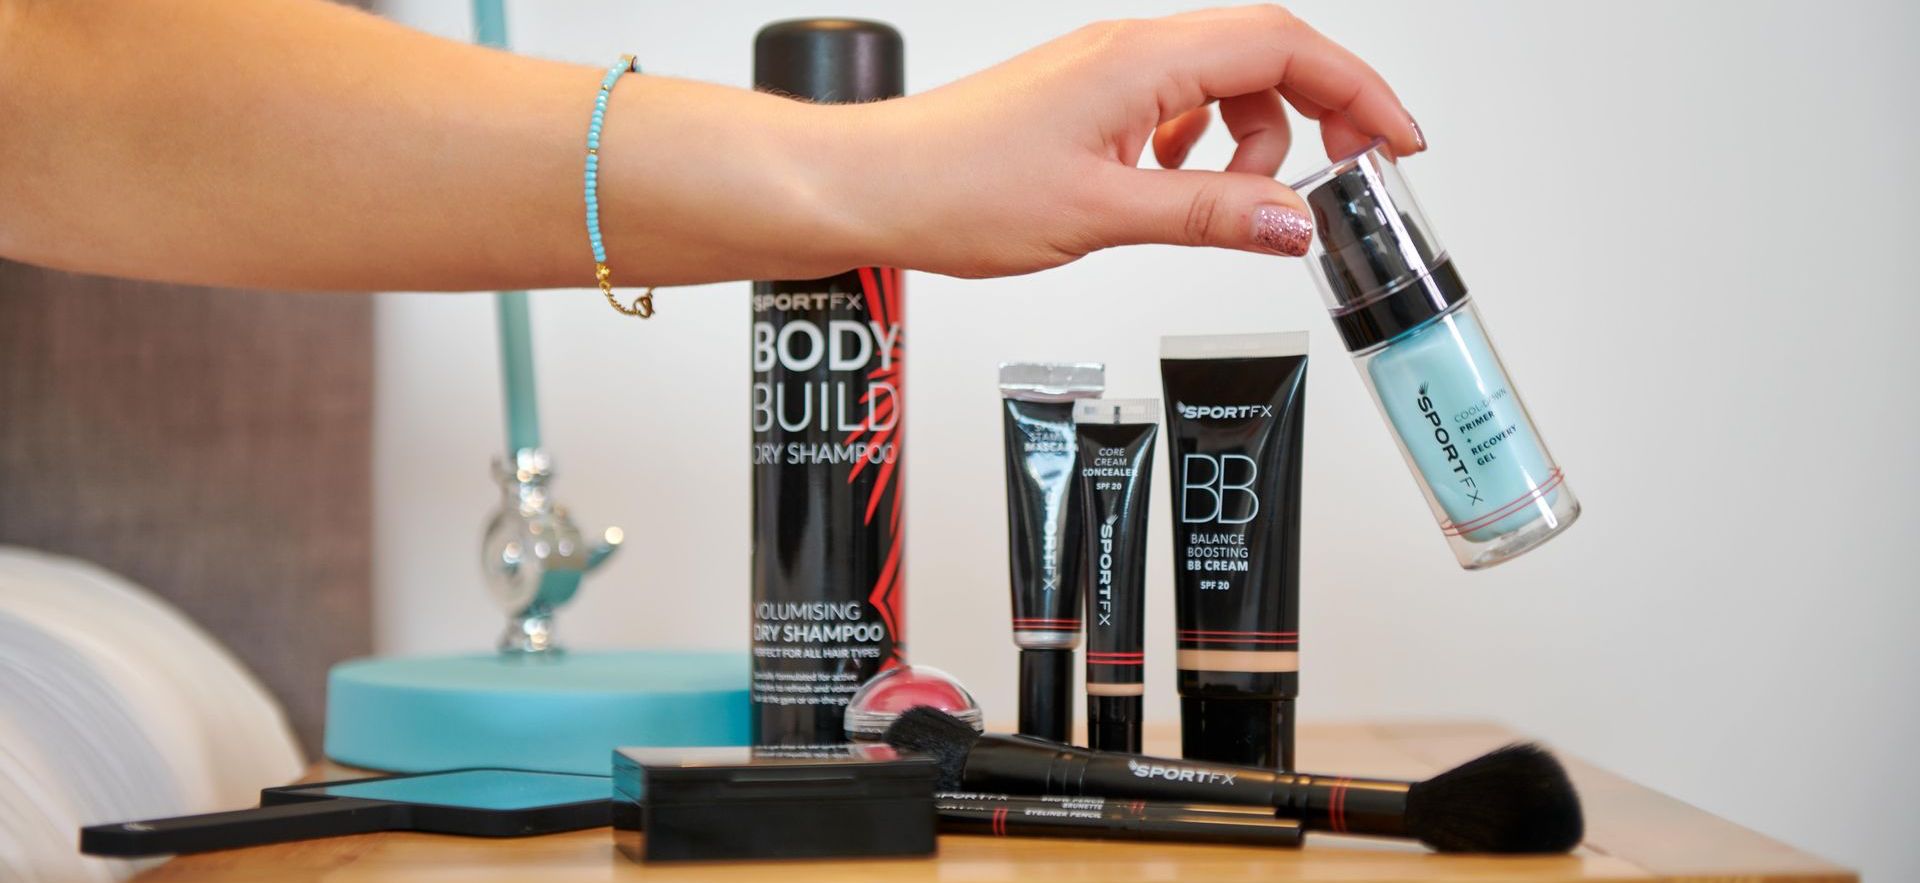
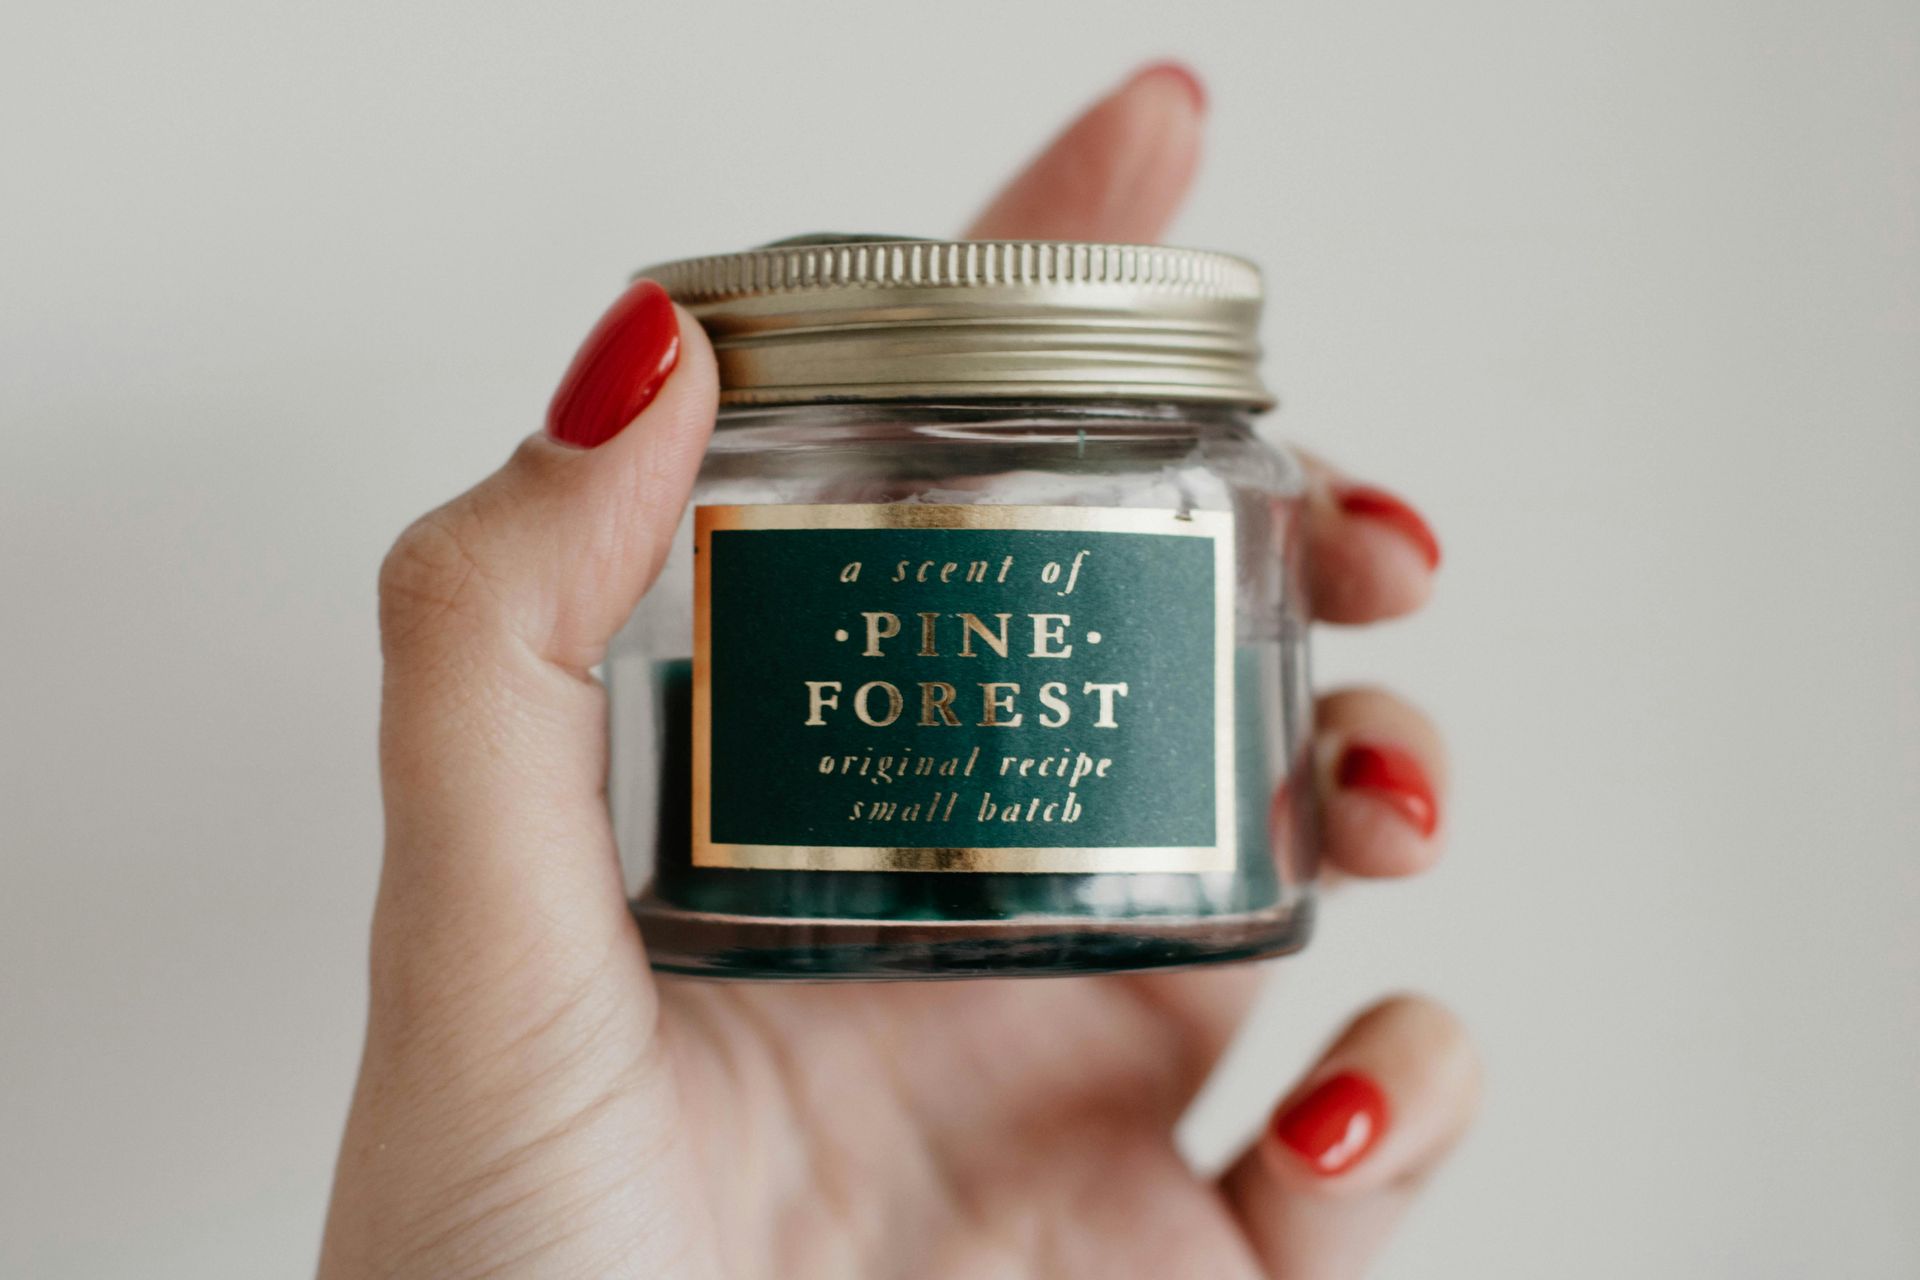
Step 5: Help the Customer Visualise
Your product photos need to answer the buyer’s unspoken questions:
- What does it feel like?
- How big is it, really?
- Is it simple to use?
- Is it worth the price?
So shoot:
- Details: close-ups of stitching, textures, materials, packaging
- Scale: show it in-hand, in-space, or next to familiar items
- Context: show how it’s used or worn, when relevant
People don’t buy what they don’t understand. Reduce hesitation and build buyer confidence.
Step 6: Edit With Restraint and Accuracy
Professional editing isn’t about filters or heavy Photoshop. It’s about polishing - focus on:
- Colour correction to match the real product
- Exposure balancing to make details pop
- Retouching small flaws (dust, fingerprints), without changing the product
- Cropping consistently across all photos
The goal is a clean, accurate, and cohesive set of images, not something that looks “edited.”
Also:
optimise your file sizes.
Big images slow down your site. Compressed (but clear) images improve speed and SEO.
Clarity = Confidence = Conversions
Professional product photography isn’t about being flashy. It’s about being clear.
It gives your products the platform they deserve. It removes doubt. It builds trust before a single word is read.
It says: “This is real. This is quality. You’re in good hands.”
And in a world where customers scroll fast and bounce quicker, that kind of confidence isn’t optional, it’s everything.
Quickfire Checklist for
Professional Product Photography
- [ ] Clear goals for each image and format
- [ ] Shot list and product planning mapped in advance
- [ ] Natural or studio lighting that enhances detail
- [ ] Consistent, on-brand backgrounds
- [ ] Standardised angles, crops, and compositions
- [ ] Detail and scale shots that reduce buyer hesitation
- [ ] Edited with accuracy, not over-styled
- [ ] File sizes optimised for web speed
