

Product Photography Camera Settings
2025 Deep Dive
Where to Start with Product Photo Camera Settings
If you’ve ever Googled “what are the best camera settings for product photography?” you’ve probably come across a hundred different opinions; Aperture f/8. Shutter speed 1/125. ISO 100. Use a tripod. Don’t use a tripod. Use natural light. Use studio lighting.
The truth? There is no single magic formula.
The best camera settings for product photography depend entirely on your environment, your product, your lighting, and your desired style.
But once you understand the foundational settings and how they work together, you can confidently adapt them to suit any shoot, whether you're going for clean white-background e-commerce photos or rich lifestyle scenes.
This guide will walk you through each key setting, what it does, how it affects your images, and how to make the right choices for your setup.
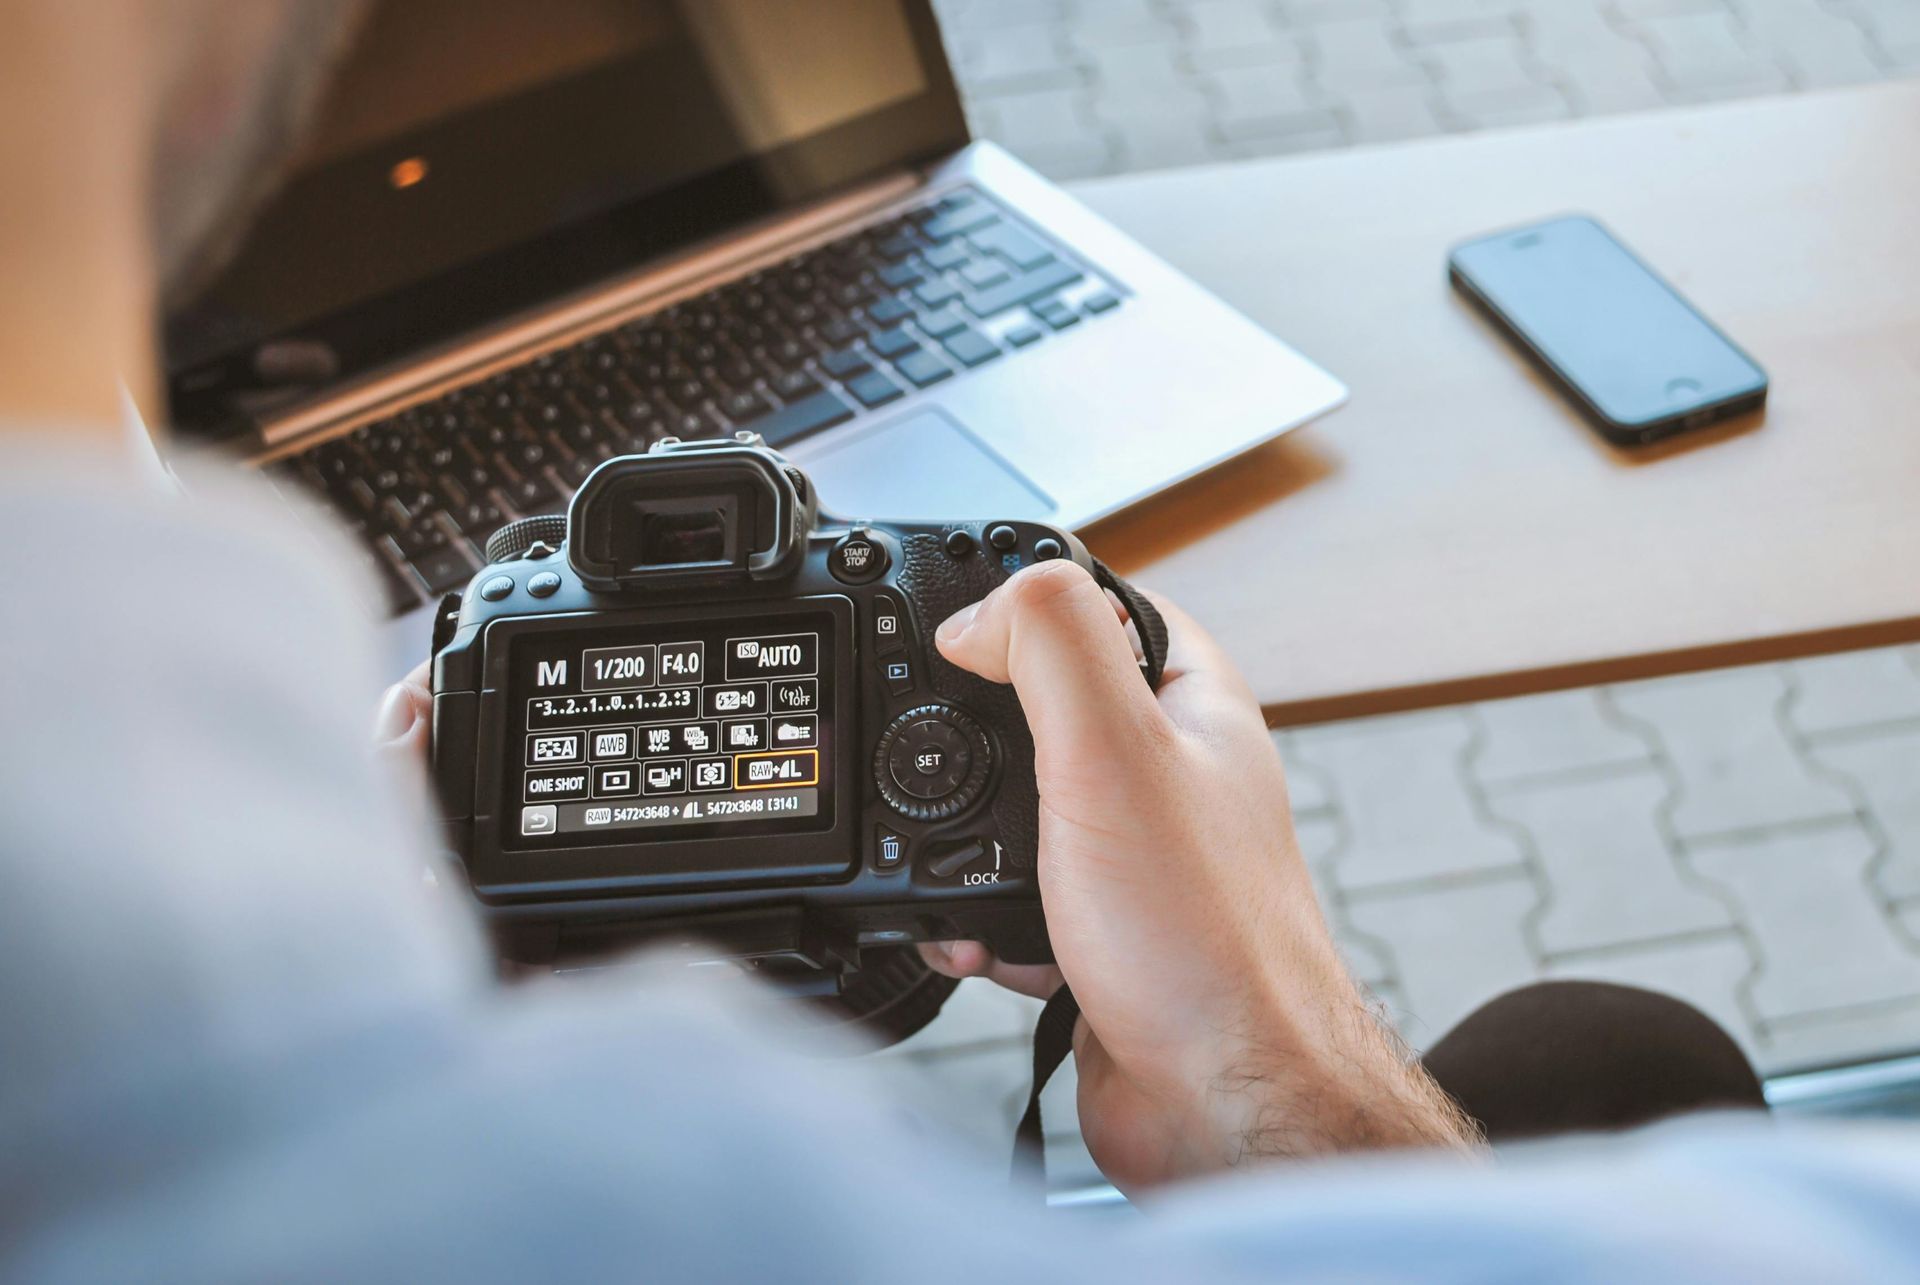
The Three Core Camera Settings
Professional product photography relies on three essential manual settings:
Aperture (f-stop)
Controls depth of field (how much of your image is in sharp focus).
- Smaller f-number (e.g. f/2.8) = shallow focus (great for blurred backgrounds in lifestyle shots)
- Larger f-number (e.g. f/8 – f/16) = deeper focus (perfect for crisp product shots)
Use f/8 to f/11 for most product shoots, especially when you want edge-to-edge sharpness. If you’re shooting a flat-lay or straight-on image, f/11 will ensure the entire product is in focus.
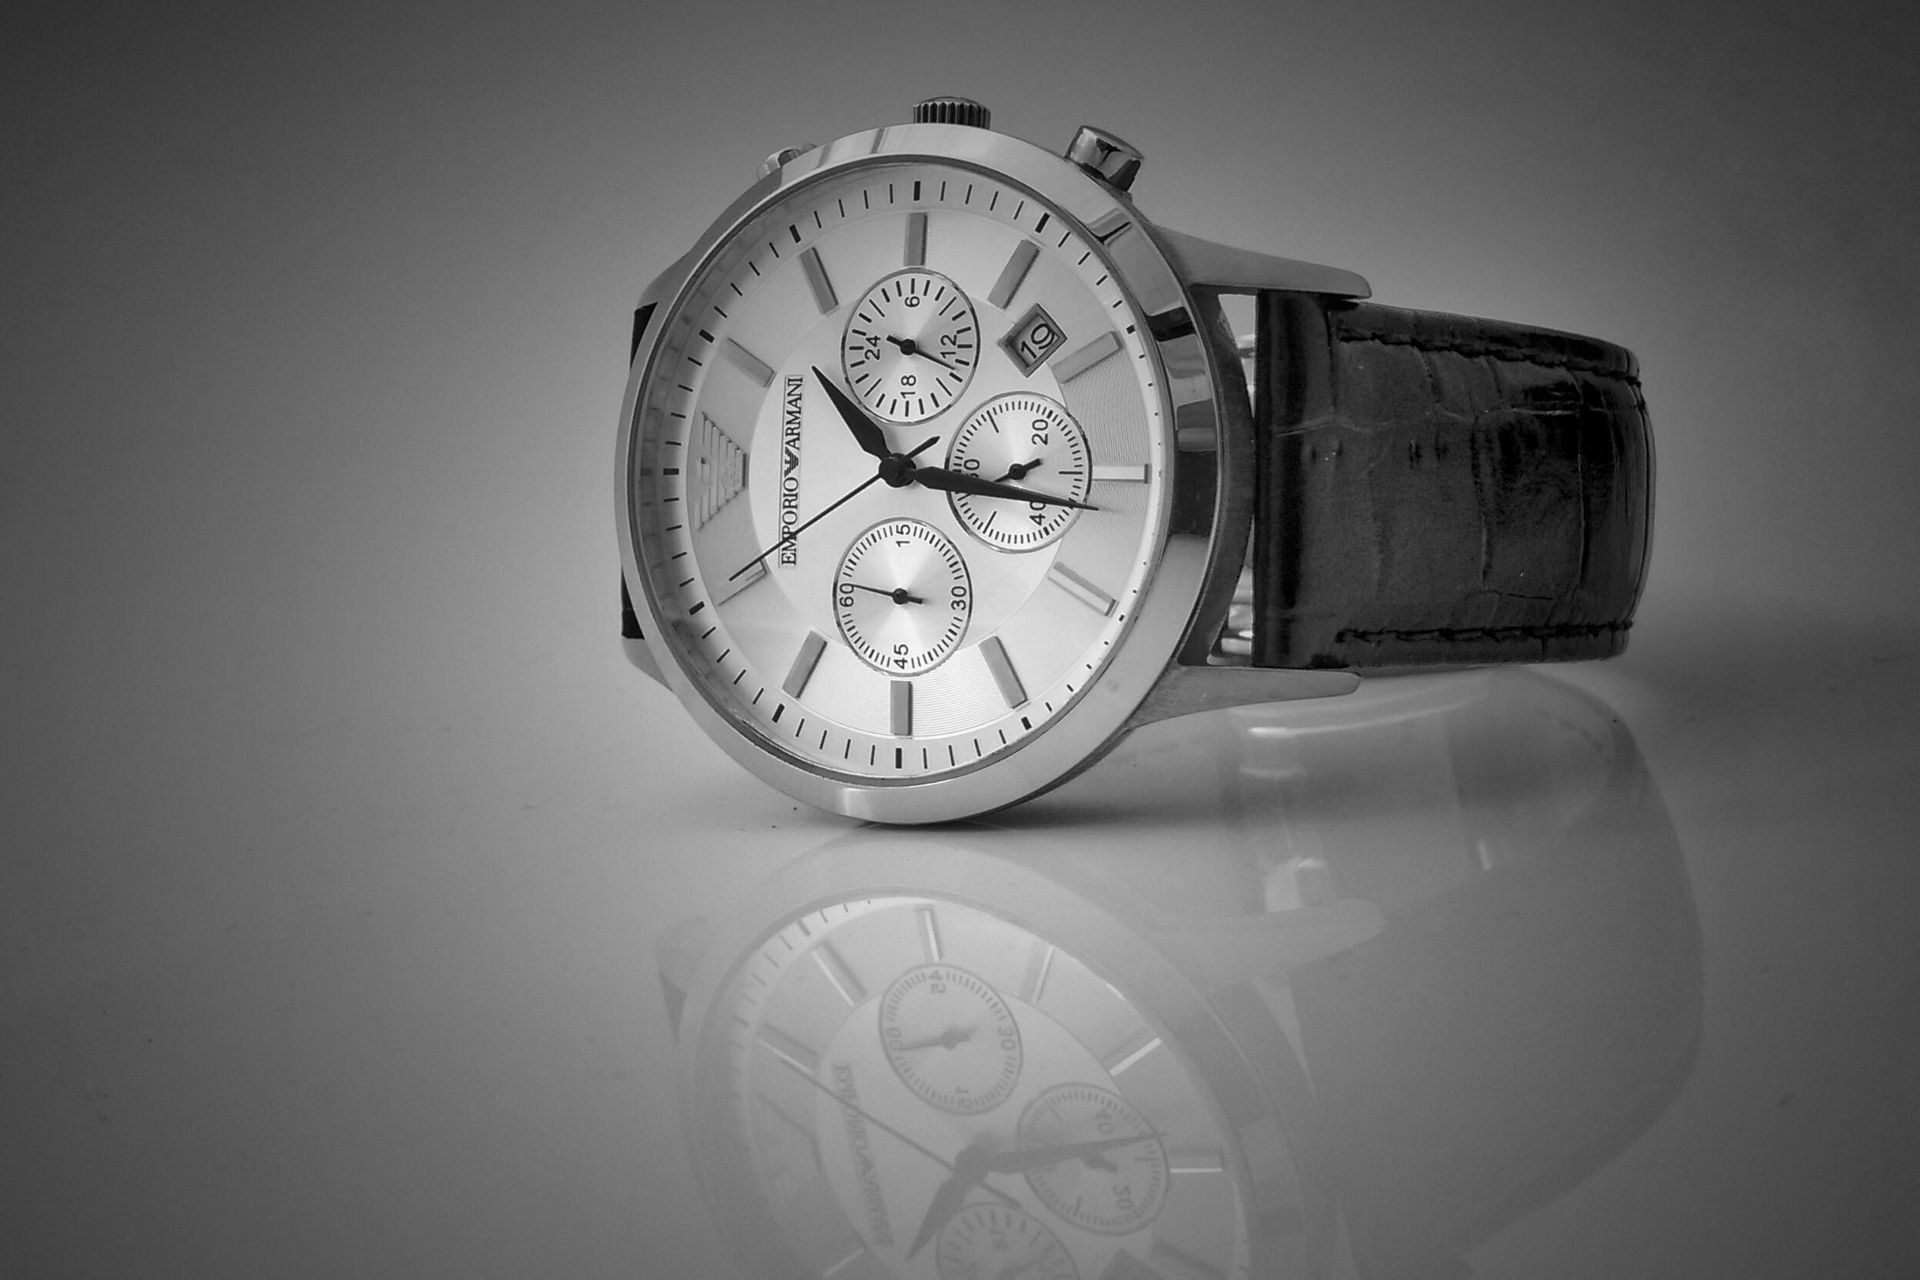
Shooting a watch on a flat surface? Use f/11 to keep the face, strap, and shadows all sharp.
Want a soft lifestyle shot of that same watch on a wrist, with the background blurred? Drop down to f/2.8 or f/3.5.
Shutter Speed for
Product Photography
Controls motion blur and light intake.
- Slower shutter speed (e.g. 1/30) = more light, but higher risk of blur
- Faster shutter speed (e.g. 1/250) = crisper image, but needs more light
For handheld or natural light, use 1/125 to 1/250
If you’re using a tripod (which you can for static product shoots), you can go slower - even down to 1/60 or 1/30 - especially if you’re balancing with a small aperture like f/11.
Shooting handheld or capturing any motion? Use a faster shutter. But for most controlled product setups, use a tripod and don’t fear slower shutter speeds.
ISO Photography Settings for Product Shots
Controls sensor sensitivity, but introduces grain/noise at higher levels.
- Lower ISO (e.g. 100–200) = cleaner images
- Higher ISO (e.g. 800+) = brighter images, but risk of visible noise
Keep ISO as low as possible (ideally ISO 100), especially for crisp e-commerce images. Raise it only if you're limited by lighting and can't lower your shutter or open your aperture further.
In a low-light lifestyle setting where natural light is moody, you might bump to
ISO 400 or 800,
but clean studio work should always stay at ISO 100–200.
Other Key Camera Settings
White Balance:
Choose the correct white balance based on your light source.
Don’t leave it on Auto: it can shift between shots and make your editing workflow a nightmare.
- Shooting with natural light? Use Daylight
- Using studio strobes? Choose Flash or set a custom white balance using a grey card
- Mixing light sources? Fix it in-camera or plan to correct in post, but consistency is key.
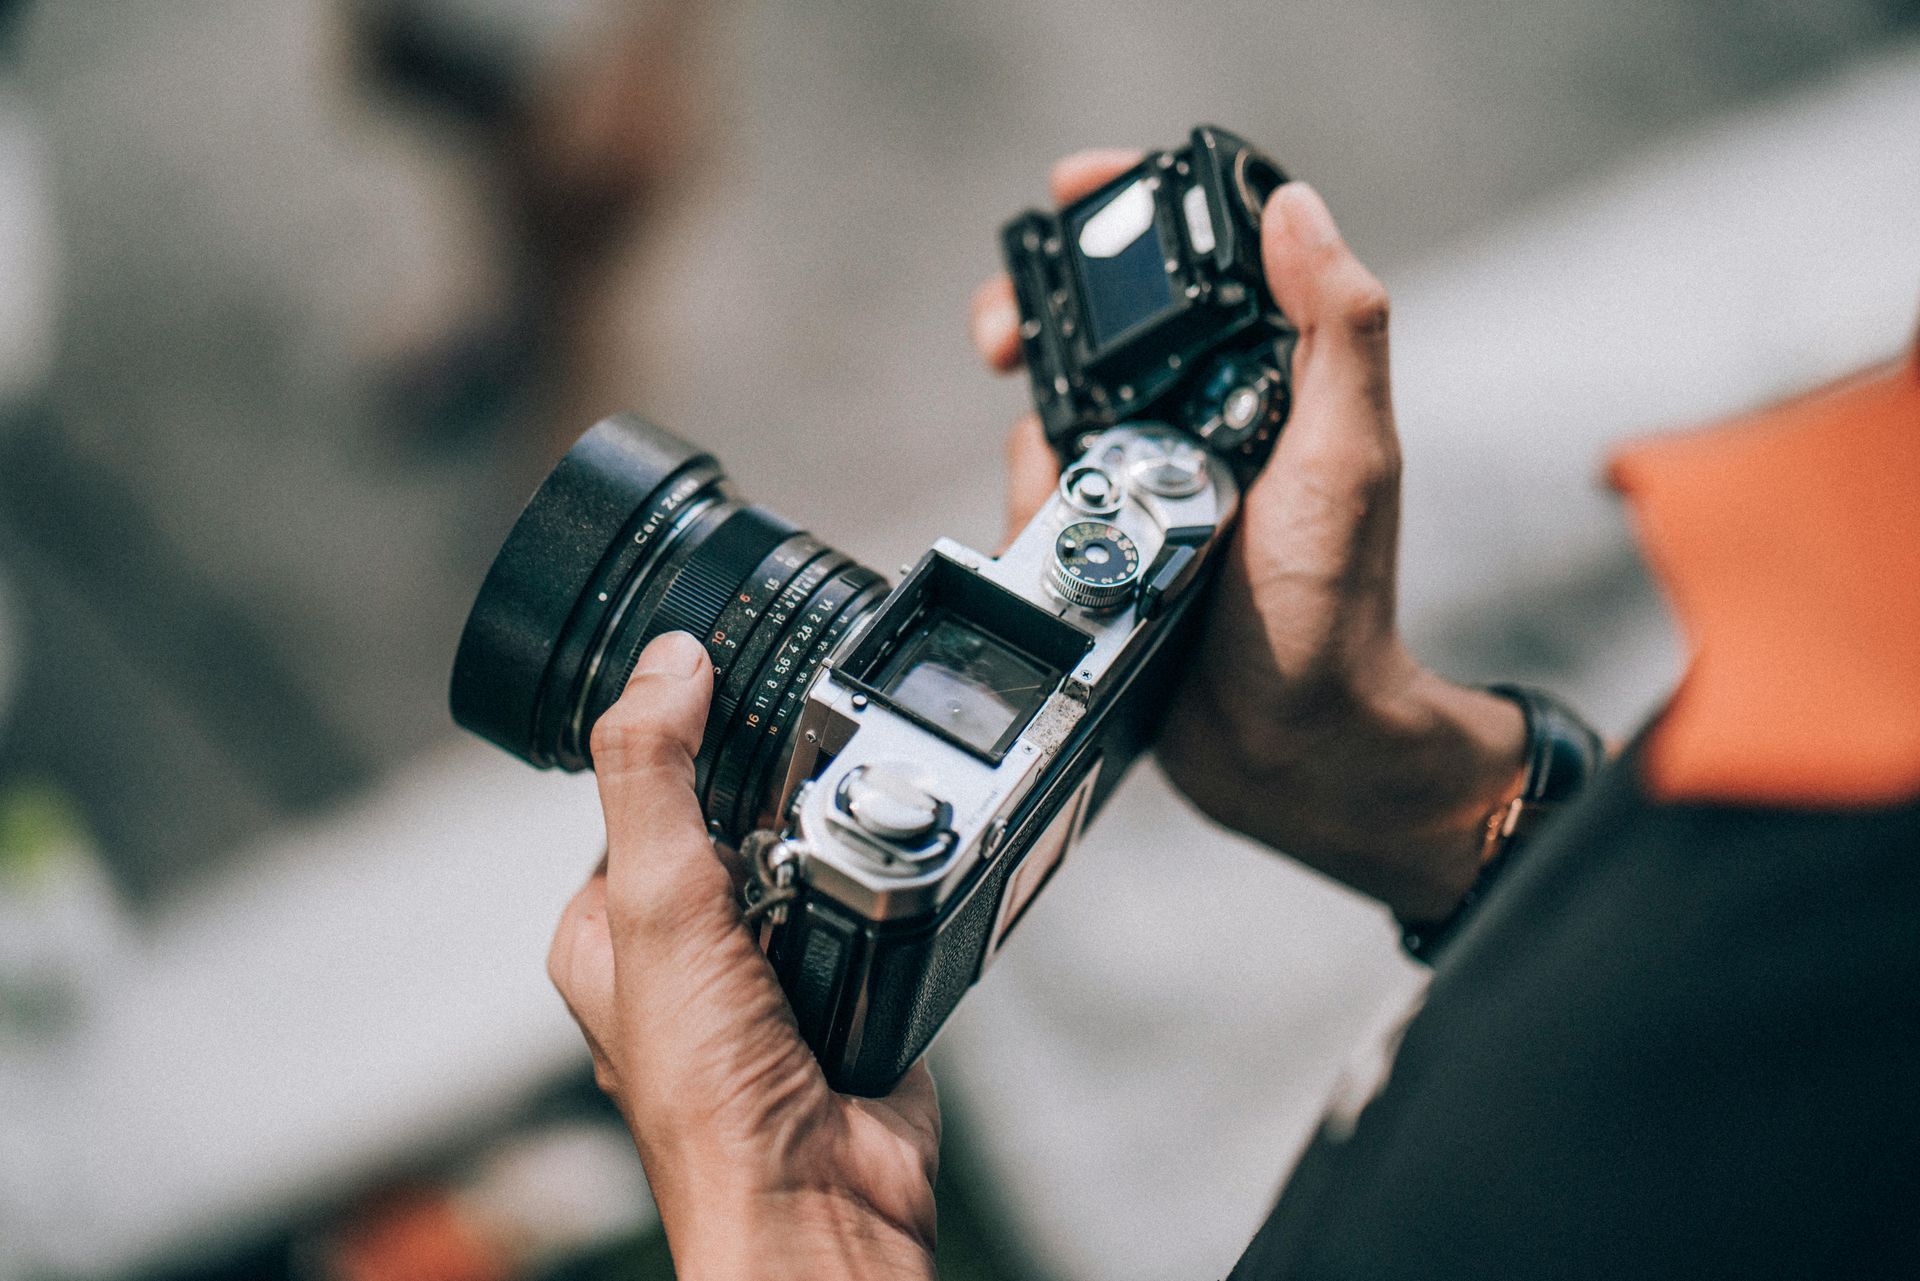
Focus Mode:
Use manual focus for static products: it’s more precise and won’t hunt between shots.
Use
autofocus (single point) only if you're moving fast and have consistent results.
Set your camera to single shot mode. There’s no need for continuous shooting in still product photography unless you're working with dynamic setups (e.g. pouring shots, action product demonstrations).
Adapt Settings to Your Environment and Style
Clean E-Commerce Shots (White Background)
- Controlled light (softboxes or strobes)
- Tripod setup
- Priority = clarity, consistency, sharpness
Suggested camera settings:
- Aperture: f/11
- Shutter Speed: 1/125
- ISO: 100
- White Balance: Flash or custom (use grey card)
- Focus: Manual
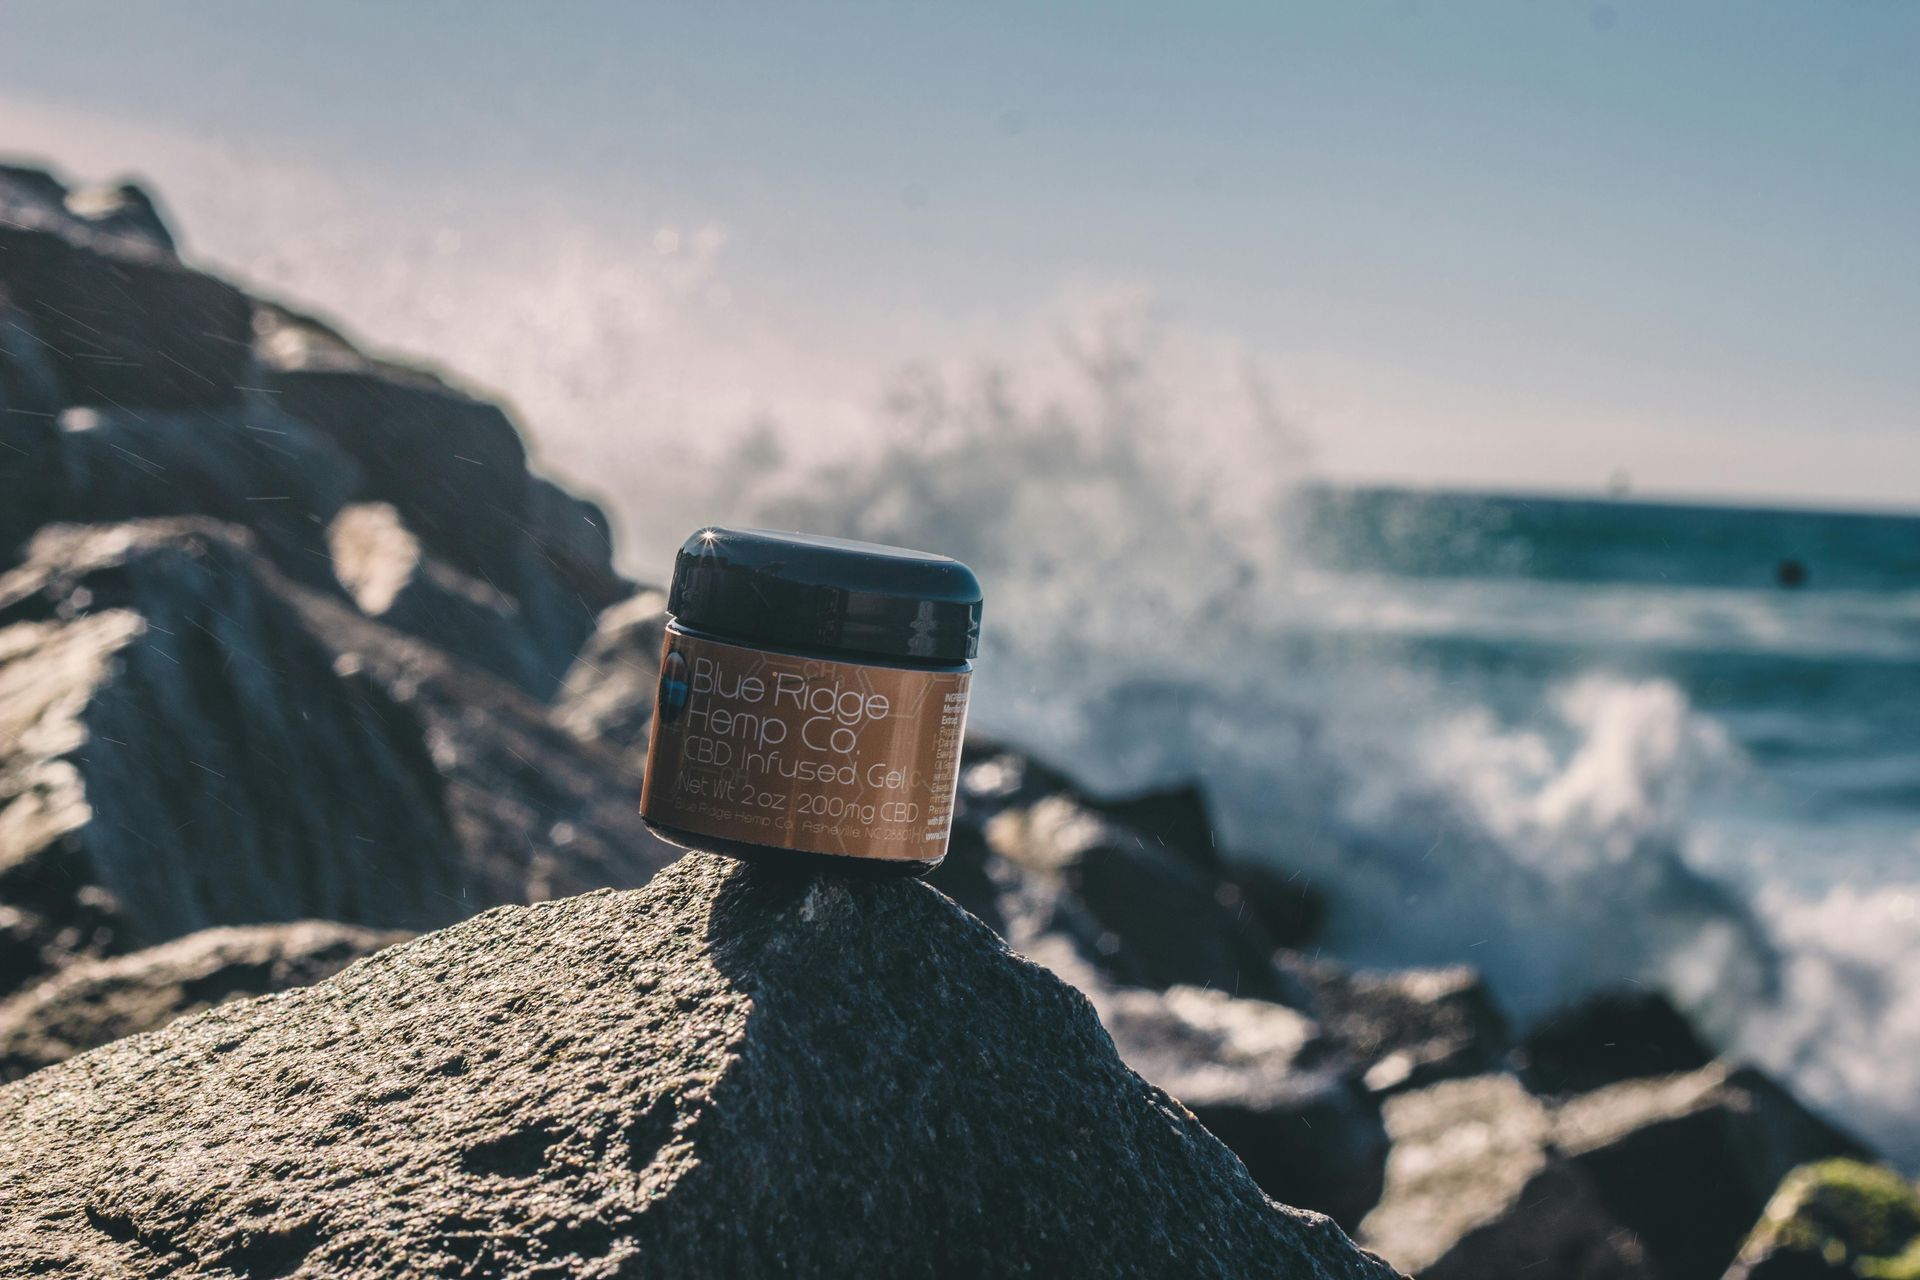
Lifestyle Photography with Natural Light
- Natural window light, slightly styled scene
- Handheld or tripod
- Priority = mood, softness, brand feel
Suggested settings:
- Aperture: f/2.8 to f/4
- Shutter Speed: 1/125 or faster (if handheld)
- ISO: 200–400 (depending on light)
- White Balance: Daylight
- Focus: Autofocus (single point)
Texture & Detail Shots (Close-Ups)
- Controlled light or macro lens
- Very shallow focus range
- Priority = detail, sharpness, minimal blur
Suggested settings:
- Aperture: f/8–f/11
- Shutter Speed: 1/60 or faster (tripod recommended)
- ISO: 100
- White Balance: Match light source
- Focus: Manual, with focus peaking if possible
What matters just as much:
- Consistent lighting
- Clean background and styling
- Proper camera positioning
- Tripod usage
- Shooting in RAW for flexible editing
- A planned, repeatable shoot process
Professional product photography isn’t about “best settings.” It’s about knowing how settings interact, and adjusting them with purpose.
